A digital board can look sharp in your classroom and still produce hard-to-read writing in an online lesson. The problem is not always the camera. Framing, reflections, focus and the way you capture board content all affect what students receive.
The best camera for digital board teaching is one that shows the teacher clearly, fits the room and works reliably with the recording system. Where your equipment supports it, capturing the board content directly and combining it with a teacher camera is often the most practical way to preserve readable text.
This guide explains the camera choices and setup checks that matter for teachers in India. Smart Infovision supplies teaching equipment, so this is a commercial educational guide based on technical sources and practical buying considerations. It does not claim hands-on testing of every model.
Decide whether you need to film the whole board or capture its content directly. Match the lens to your room, test small writing in the final video and control reflections before paying for extra resolution. A PTZ camera helps with changing classroom views, but a webcam or suitable fixed camera can be enough when the board is shared separately.
Choose your board capture method first
Filming a digital board captures the teacher, gestures and writing together. This can feel natural to students, but it also records display reflections, camera angle and any obstruction caused by the teacher. Small text can become difficult to read when the board occupies only part of the image.
Direct capture takes the lesson content from the computer, supported board output or compatible sharing system. It avoids photographing the display surface, although final clarity still depends on capture resolution, layout and compression. Confirm whether the board’s annotations are included in the output; content generated inside its built-in operating system may need a different capture route from content on a connected computer.
A combined layout can show board content as the main view and the teacher in a smaller inset. OBS supports scenes with screen and video sources, as described in its Sources Guide. Keep the inset away from equations or diagram labels, and make sure the teacher remains large enough to see useful gestures. Test the arrangement with your actual board and computer.
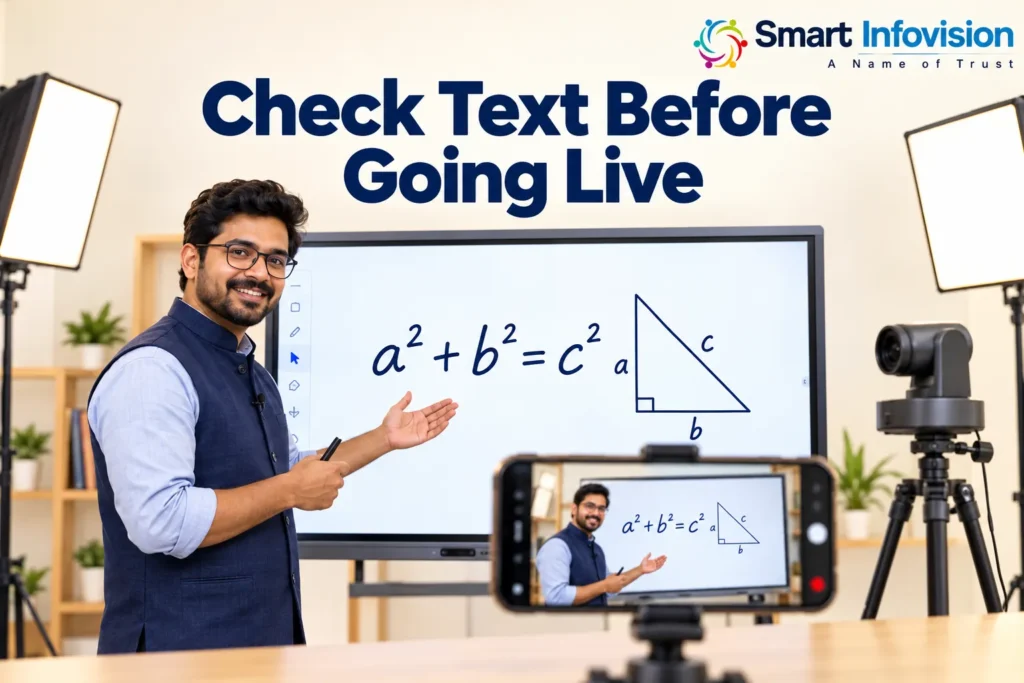
Illustrative capture workflow; supported connections vary by board and computer.
Which camera type suits digital board teaching?
A motorised PTZ camera is worth considering when you teach standing up, switch between the board and a demonstration table or need remotely controlled framing. Models with presets can recall a full-board view and a closer teacher shot. Optical zoom can help with framing from a rear camera position, but it must suit the room.
A webcam can be a sensible choice when board content is captured separately and the teacher stays near a desk or computer. The camera then needs to provide a clear teacher view rather than resolve small writing across the classroom. Check its field of view, autofocus and supported video formats before choosing.
A suitable DSLR or mirrorless camera can offer lens flexibility in a controlled studio. Confirm clean video output, continuous power and performance over a full lesson. A shallow depth of field may blur the board behind the teacher, so a portrait-style background is not automatically desirable.
These are workflow recommendations rather than a model ranking. Ask suppliers to demonstrate the exact camera with your board. Automatic tracking, output formats and warranty arrangements vary between models, including cameras within the same category.
Match camera placement and zoom to the room
Measure the board width, camera-to-board distance and the space where you stand. Leave room for the full lesson area without making the board unnecessarily small. A small studio may need a wide lens, while a deeper room may need optical zoom to tighten the view.
Compare the widest horizontal field of view as well as optical zoom. Two cameras with the same zoom ratio can start with different coverage. Axis lens guidance explains how focal length and sensor size affect field of view. Digital zoom enlarges or crops the image and should not be treated as equivalent to optical zoom.
Consider a camera position near the board’s horizontal centreline to reduce perspective distortion. Test the mounting height and your standing position before permanent installation. If you block a key part of the board while writing, adjust framing or switch to direct content capture rather than expecting more pixels to reveal hidden text.
Make text readable before increasing resolution
4K can help detailed recordings and allow cropping during editing, but it does not guarantee clear writing. A 4K source may be downscaled by your recording settings or teaching platform. Students judge the delivered lesson, not the camera’s maximum specification.
Use comfortably large writing and sufficiently thick strokes. Choose text and background colours with strong contrast, and avoid placing essential content close to edges that may be cropped. Include fractions, subscripts and small diagram labels in your test, not just large headings.
Check focus on both the teacher and the board. If autofocus repeatedly shifts during a fixed board shot, discuss whether a stable manual setting is appropriate. Do not assume the teacher’s face and a board at a different distance will both stay sharp with every lens and aperture setting.
Control reflections exposure and flicker
Place lights so they illuminate the teacher without creating bright patches on the display. Move a light, change its angle or adjust the camera position while watching the recording preview. Test with the display brightness and room lighting used during lessons.
If writing disappears in a bright area, compare exposure settings and reduce the imbalance between the display and the teacher. Automatic exposure changes can distract students when a large white slide replaces a dark one. Where available, a stable exposure setting may help after the lighting is balanced.
If bands or flicker appear, check the camera’s anti-flicker and exposure options with the installer. In India, a 50 Hz setting may be relevant to mains-powered lighting, but display refresh and LED drivers can behave differently. Confirm with sample footage rather than treating one setting as a universal fix.
Verify the full recording connection
Check which resolution and frame rate the camera delivers through the connection you will use. USB video may work directly with a compatible computer, while HDMI normally needs a capture device. Network video requires supported software and configuration.
OBS explains how webcams and capture hardware are added through Video Capture Sources. Confirm the supported device formats and operating system, then test camera video, board capture and microphone audio together. Different sources can arrive with different delays, so check that speech and writing actions remain synchronised.
For an Indian installation, request an itemised quote covering GST treatment, mounts, cable lengths, capture hardware, lighting, microphone, installation and training. Ask who handles warranty repairs and setup support. A camera-only price does not describe the cost of a complete teaching workflow.
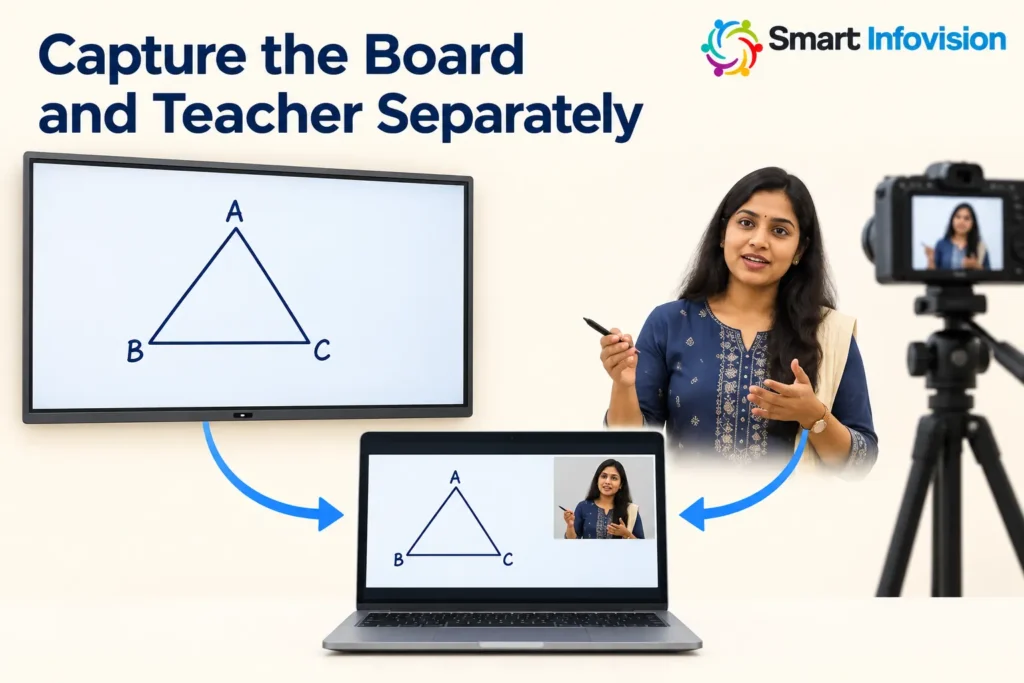
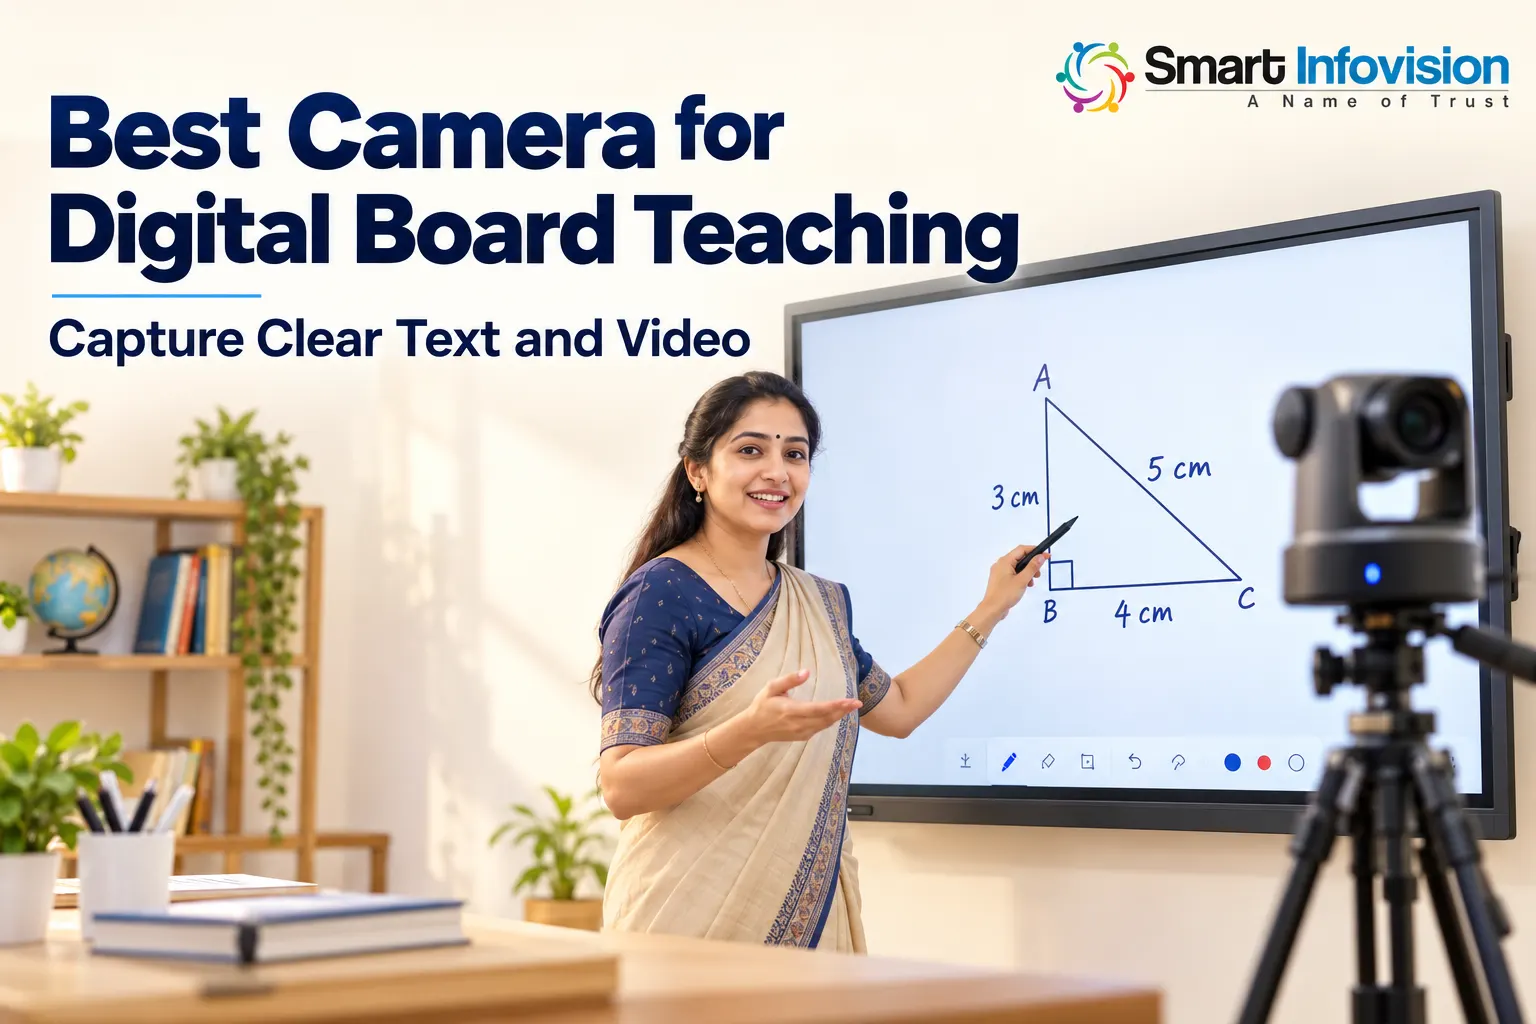
AI-generated illustration; judge clarity using your own recorded lesson.
Test what your students will actually see
Record a short lesson using your normal handwriting and teaching movements. Include a full-board view, a detailed equation and a change between bright and dark content. Play the result on a phone at normal viewing size.
Then test a live session through the platform you use. Compare it with the local recording, because compression and connection quality can change the result. Run a longer test before committing to regular classes to check power, heat, dropped frames and audio stability.
Frequently asked questions
Which camera is best for teaching with a digital board?
A PTZ camera suits changing classroom views, while a webcam or fixed camera may be sufficient for a separate teacher feed. Choose after testing room coverage, board clarity and the complete recording workflow.
Is direct board capture better than filming the screen?
It can preserve text without reflections or teacher obstruction when the system captures the required content and annotations. Filming remains useful for showing gestures and physical interaction; combining both can serve different lesson views.
Does a 4K camera guarantee readable board text?
No. Focus, framing, contrast, writing size and final delivery resolution also matter. Test small text on a phone using the actual recording and live platform.
Why does digital board writing look blurred online?
Possible causes include poor focus, a board that is too small in the frame, reflections, thin strokes or video downscaling and compression. Compare direct board capture and local footage to narrow down the cause.
Will teacher tracking keep the board visible?
Not necessarily. Tracking may tighten the frame around the teacher and exclude writing. Confirm the model’s behaviour and use a board preset or separate content feed when needed.
Choose a setup around readable lessons
Start with the content students need to see, then select a camera and capture method that deliver it reliably. Explore Smart Infovision’s teaching camera options and request a demonstration using your board size, room measurements and lesson software.