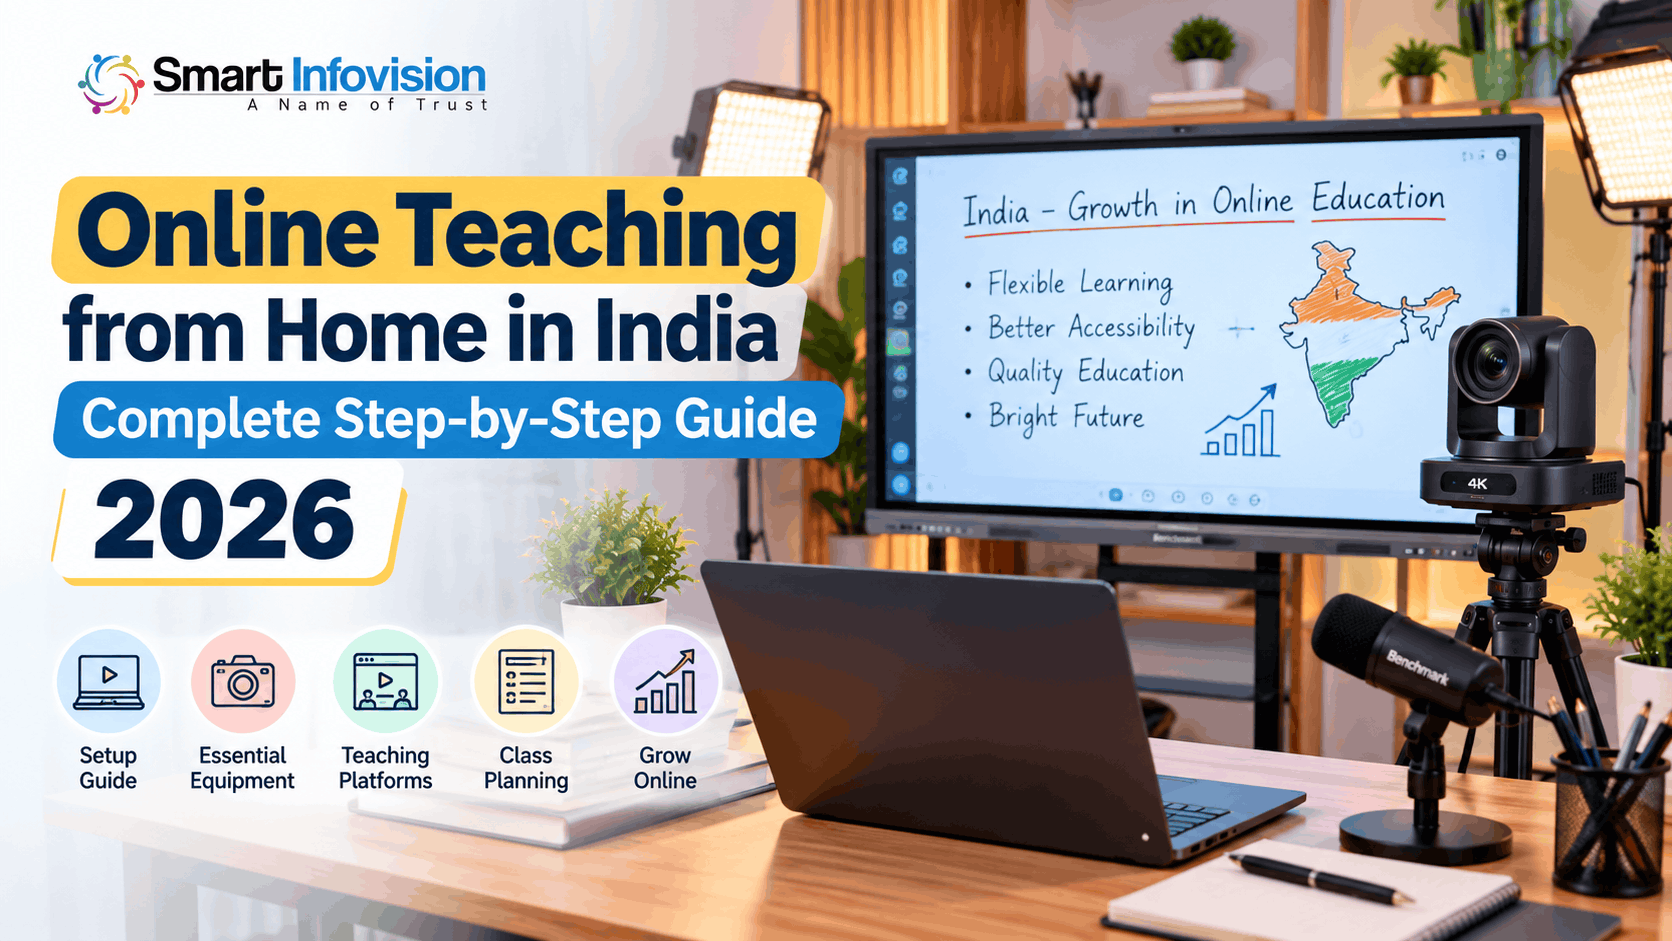
इंदौर की एक स्कूल टीचर शाम को घर से Maths की अतिरिक्त क्लास लेना चाहती हैं। उनके पास smartphone और internet है, लेकिन शुरुआत कहाँ से करें? क्या महंगा studio जरूरी है? नहीं। Online Teaching from Home in India शुरू करने के लिए पहले सही subject, विद्यार्थियों की जरूरत और एक भरोसेमंद teaching process समझना जरूरी है। इस guide में subject selection, जरूरी equipment, software, demo class और 2026 के budget तक पूरी प्रक्रिया समझेंगे। चाहे आप home tutor हों या YouTube educator, सही तैयारी से शुरुआती गलतियाँ कम कर सकते हैं।
What Is Online Teaching from Home?
घर के किसी शांत कमरे से इंटरनेट के जरिए विद्यार्थियों को पढ़ाना online teaching कहलाता है। इसमें school teachers, home tutors, coaching faculty और skill trainers अपने ज्ञान के अनुसार पढ़ा सकते हैं। Live classes में students उसी समय questions पूछते हैं और teacher तुरंत जवाब देता है। Recorded lessons में विद्यार्थी अपनी सुविधा से वीडियो देखते और दोहराते हैं।
Live mein interaction zaroori hai, recorded course mein sequencing aur editing. Beginners छोटे batch से feedback लेकर recordings बना सकते हैं।
How to Start Online Teaching from Home in India – Step-by-Step
Step 1: Select Your Subject and Target Students
सबसे पहले तय करें कि आप किस विषय में स्पष्ट और सही तरीके से समझा सकते हैं। उदाहरण के लिए, “Class 9–10 CBSE Science in Hindi” एक सामान्य “Science Classes” से ज्यादा स्पष्ट प्रस्ताव है। School syllabus, competitive exam preparation या spoken English जैसे skill-based topics के लिए अलग teaching plan बनाएं।
Students ki class, language aur timing note karein. Weekly topics aur practice tasks लिखें। पहले कुछ chapters से शुरुआत करें।
Step 2: Choose a Suitable Teaching Space
घर में ऐसी जगह चुनें जहाँ traffic, television और बातचीत की आवाज कम पहुंचे। कैमरा eye level पर रखें और पीछे साफ दीवार या व्यवस्थित bookshelf हो। चेहरे पर सामने से नरम रोशनी आए; पीछे तेज खिड़की होने से चेहरा अंधेरा दिख सकता है।
Echo कम करने के लिए curtains और rug लगाएं। Comfortable chair रखें और पहले test video देखें।
Step 3: Arrange Essential Online Teaching Equipment
शुरुआत में महंगे उपकरणों के बजाय अपनी पढ़ाने की शैली के हिसाब से सामान चुनें। जरूरी components ये हैं:
- Camera: मौजूदा smartphone या laptop webcam से शुरुआत करें। Board पर खड़े होकर पढ़ाते हैं तो stable tripod और सही framing रखें।
- Computer: Slides, PDFs, screen sharing और multiple teaching windows के लिए laptop उपयोगी है; हर छोटे live session के लिए नया computer जरूरी नहीं।
- Microphone: Wired collar mic budget-friendly है। Board के पास घूमकर पढ़ाने पर compatible wireless microphone मदद करता है।
- Lighting: सामने की natural light या एक soft LED light काफी हो सकती है। Reflections और flicker check करें।
- Writing tools: Whiteboard basic option है; pen tablet digital equations के लिए उपयोगी है। Interactive digital board बड़े batches और frequent visual explanations के लिए upgrade है।
- Internet: Stable broadband रखें और जरूरी class के लिए mobile data backup तैयार रखें। Upload stability भी जांचें।
Best camera wahi hai jisme चेहरा और writing साफ दिखें। खरीदने से पहले mic compatibility जांचें।
Step 4: Select the Right Online Teaching Software
छोटे interactive batches के लिए Google Meet, Zoom या Microsoft Teams उपयोगी हैं। इन platforms में live conversation और screen sharing होती है, हालांकि features plan के अनुसार बदलते हैं। Slides दिखाने से पहले आधिकारिक Google Meet Screen Sharing Guide देख सकते हैं।
YouTube Live audience building ke liye useful hai. OBS Studio free recording aur live-stream production software hai: ismein camera, screen aur audio sources combine kar sakte hain. OBS attendance या fee management नहीं करता।
Step 5: Prepare Lessons and Teaching Materials
हर session का एक स्पष्ट learning goal लिखें। मान लीजिए आप Class 10 में quadratic equations पढ़ा रहे हैं: पहले concept, फिर solved example, उसके बाद student practice रखें। Slides में बहुत छोटा text और अनावश्यक animations न भरें। Notes, PDFs और assignments class से पहले व्यवस्थित करें।
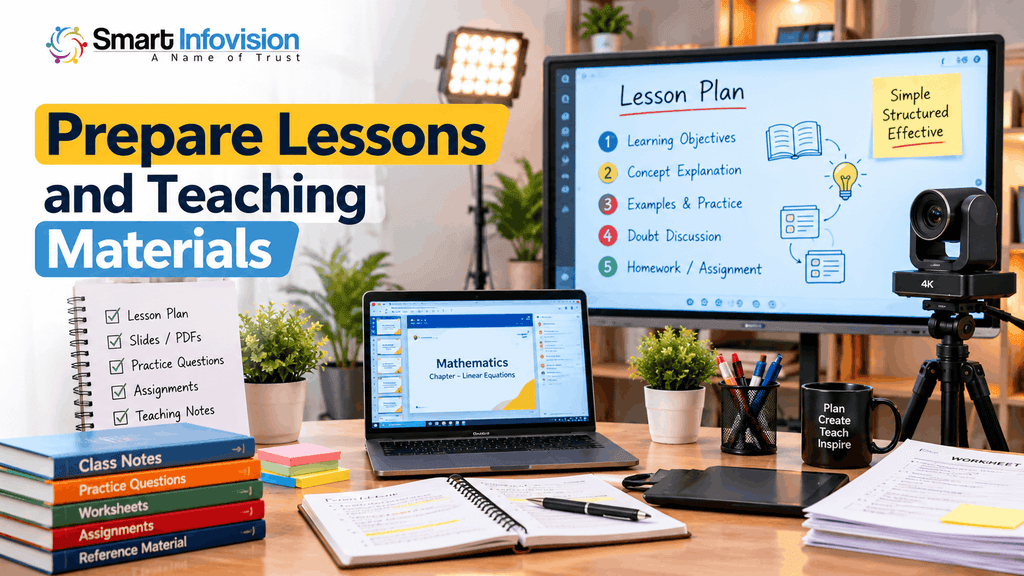
पाँच मिनट recap, explanation, सवाल और homework रखें। Notes share करते समय copyright जांचें।
Step 6: Conduct Your First Online Class
पहली class से पहले एक परिचित व्यक्ति के साथ demo session करें। Microphone की आवाज, camera angle, light, screen sharing और internet speed check करें। Board पर लिखे छोटे शब्द student के mobile पर पढ़े जा रहे हैं या नहीं, यह भी देखें।
Class का उद्देश्य बताएं और बीच-बीच में प्रश्न लें। Backup internet रखें। Recording से पहले participants को सूचित करें।
Step 7: Improve and Grow Your Online Teaching
शुरुआती sessions के बाद विद्यार्थियों से पूछें कि आवाज, पढ़ाने की गति और examples कितने स्पष्ट थे। गलत सवालों और common doubts का रिकॉर्ड रखें। इसी feedback के आधार पर अगला lesson सुधारें। Consistent timing और समय पर assignments देना भी महत्वपूर्ण है।
Growth ke liye demo aur useful clips share karein. Marks guarantee na dein; demand बढ़ने पर recordings और batches जोड़ें।
Online Teaching Setup Cost in India (2026)
भारत में खर्च आपके पहले से उपलब्ध devices और teaching format पर निर्भर करता है। नीचे दिए budget indicative equipment estimates हैं, किसी specific seller या Smart Infovision के confirmed package quotes नहीं।
| Setup level | Typical equipment | Approximate budget |
|---|---|---|
| Basic | Existing phone, tripod, wired mic, simple LED, whiteboard | ₹3,000–₹10,000 |
| Intermediate | Existing laptop, HD webcam, USB/wireless mic, pen tablet, two lights | ₹15,000–₹40,000 |
| Professional studio | Interactive panel, PTZ camera, wireless audio, studio lighting, recording system | ₹1.2 lakh–₹3 lakh+ |
इनमें पुराना phone/laptop शामिल नहीं है। Studio cost equipment, installation और taxes पर निर्भर करेगी।
Why Professional Online Teaching Studios Are Useful
जब teacher रोज कई lectures रिकॉर्ड करता है या बड़े board पर चलते हुए पढ़ाता है, तब professional teaching studio अधिक उपयोगी हो सकता है। Interactive flat panel पर diagrams, PDFs और annotations एक जगह दिखते हैं। 4K PTZ camera board और teacher की framing को remotely adjust करने में मदद करता है; automatic tracking केवल supported models में मिलेगी।
Wireless mic घूमते समय मदद करता है; LED lighting glare कम कर सकती है। Recording system कई sources संभालता है। छोटे batch में ये जरूरी नहीं।
How Smart Infovision Supports Online Teachers
Smart Infovision डिजिटल teaching equipment और studio solutions उपलब्ध कराता है। इसकी Online Class Studio Setup जानकारी में digital panel, 4K PTZ camera, wireless microphone, display system और lighting जैसे components शामिल हैं। कंपनी की वेबसाइट पर product consultation तथा installation assistance का भी उल्लेख है।
Virtual lectures aur recordings ke liye educators Virtual Class Studio Setup ke options dekh sakte hain. कमरे का आकार, installation और कीमत पहले confirm करें।
Common Mistakes to Avoid When Teaching Online
सबसे आम गलती camera पर अधिक खर्च करके microphone और इंटरनेट को नजरअंदाज करना है। दूसरी समस्या बिना lesson plan के लंबा lecture देना है। Unreadable board writing, अचानक बदलते class timings और बच्चों को प्रश्न पूछने का मौका न देना भी सीखने में बाधा बनते हैं।
Unnecessary tabs बंद करें, files का backup रखें और student privacy समझें। Digital board जरूरत देखकर खरीदें।
Frequently Asked Questions
1. How can beginners start online teaching from home in India?
विषय और target class चुनें, छोटा syllabus बनाएं, smartphone या laptop से demo लें और शुरुआती students से feedback लेकर नियमित classes शुरू करें।
2. What equipment is required for online teaching?
Camera, clear microphone, stable internet aur adequate lighting basics hain. Writing-heavy subjects ke liye whiteboard ya pen tablet useful rahega.
3. Can teachers conduct online classes using a smartphone?
हाँ। Smartphone से छोटे live sessions संभव हैं। Tripod और external mic अनुभव सुधार सकते हैं; complex screen sharing laptop पर आसान होती है।
4. How much does an online teaching setup cost in India?
Existing devices use karne par basic accessories roughly ₹3,000–₹10,000 mein aa sakti hain. Complete professional studios ka cost kaafi zyada hota hai.
5. Is a digital board necessary for online teaching?
नहीं। शुरुआती classes में whiteboard या pen tablet पर्याप्त हो सकता है। बड़े batches और advanced visual teaching के लिए digital board पर विचार करें।
Conclusion
Online teaching ki successful shuruaat expensive equipment se nahi, clear explanation aur reliable class routine se hoti hai. पहले विषय, विद्यार्थी, lesson structure और basic audio-video quality ठीक करें। उसके बाद feedback के अनुसार जरूरी upgrades चुनें।
Professional studio ki जरूरत हो तो Smart Infovision से room size और budget के अनुसार configuration पर सलाह लें।